
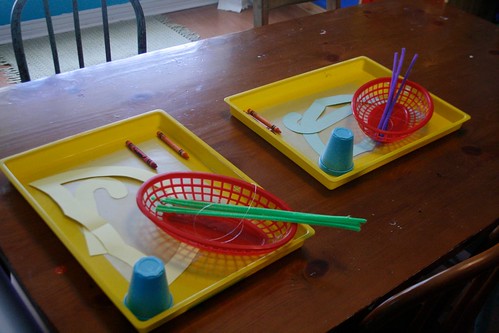
This is a fun project to go along with a "rain" theme. And for the simple fact that the kids get to blow bubbles to make the "colorful" rainy look. It helps to cut out the craft supplies and prepare the bubble-syrup before hand and then pull out the tray when there's rain in the forecast. I used a smaller tray to contain a separate activity {pipe cleaners for making the Itsy Bitsy spider}.
Time: 30 minutes to prep. Project itself takes less than 5 minutes. Umbrella assembly after wards {2 days later} another 10 minutes.
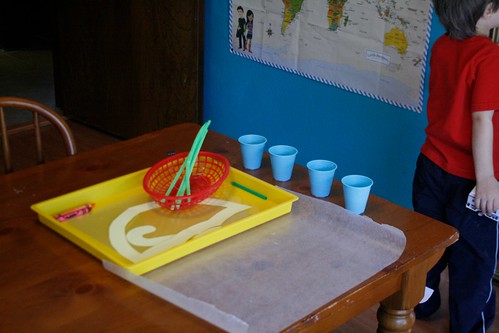
Umbrella Supplies {per child}: Wax paper {to protect work surface}. 4 disposable cups. An "umbrella" top and handle using card stock. 2 transparent sheets {or report covers cut and separated}. Corn syrup, water, food coloring, dishwashing liquid and straw.
On the day of the "rainy-day" event, place a sheet of wax paper to cover your work surface {and so that the project will "peel-off" easily when its dry}.
For the mixing solution, combine 2 tablespoons light corn syrup, a half teaspoon water, few drops of food coloring and dishwashing soap in each cup. Place one of the transparent sheets over the wax paper and have the kids blow into each colored mixing solution with a straw...

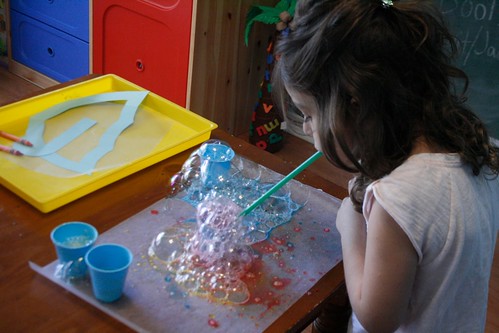
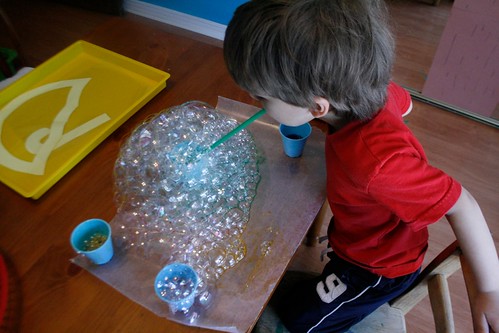
The bubbles will linger for awhile {because of the sticky concoction}, but the kids popped theirs with their straw. Remove the entire project {with wax paper} onto the tray or another area where it can dry for a few days.
Afterwards, cover the dried colorful swirly-design with the second transparent sheet and press tightly. It'll stick together because the "art" is still gooey. Peel the two sheets off the wax paper and set aside. Dispose the wax paper. Place your cut-out umbrella top over the dry transparent sheets and cut off the access. Use tape to hold in place and add the handle.
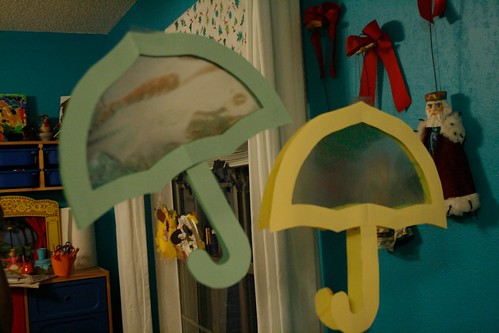
Here's what they look like...
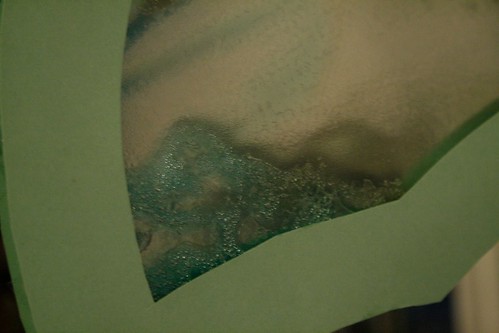
And here's a close-up of their bubbly umbrella art!
No comments:
Post a Comment