
Making a blue bird can be a bit messy - but as it turns out, it was a lot of fun. There's lots of painting, blotting, drying, cutting, and gluing going on.... and in less than 30 minutes - we had 2 blue birds made out of paper plates!
We had pizza tonight, so Aaron picked up a few extra white paper plates. We painted them blue with tempera paint on both sides.
The instructions in our craft book told us to set it aside to dry before moving on to step 2. Well we didn't have that luxury - but, we did have a blow dryer...
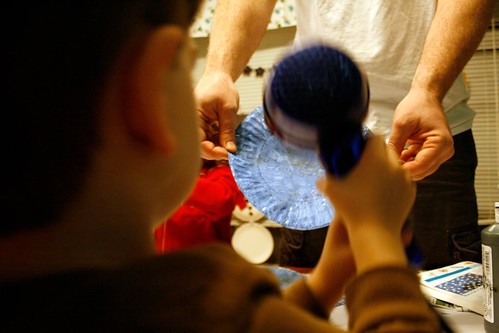
That did the trick! Now on to step 2. Mixing black and white tempera paint, we made the color gray, and then crumbled up newspaper to blot some of it on the paper plates.
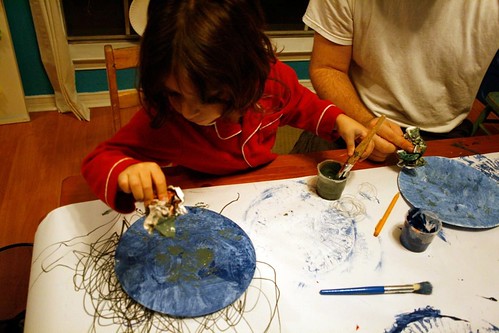
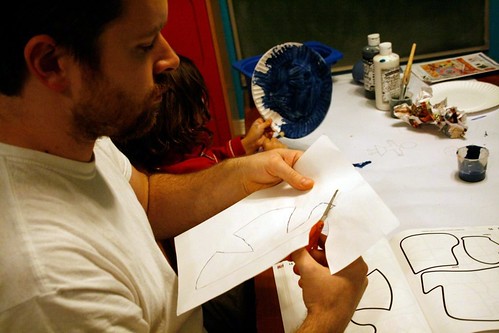
Aaron made the bird pattern out of tracing paper so that the kids could trace it on their paper plates, which we folded in half. The kids traced it with a black marker then cut around the top of the bird {not the bottom/fold}.
I taped a decorative ribbon on the inside fold and glued the "body and head" together shut. Paper reinforcements {remember those?} were used for the eyes, but jewels, or a dab of white paint will also do the trick. Fold out the wings... and chirp, chirp... here it is!
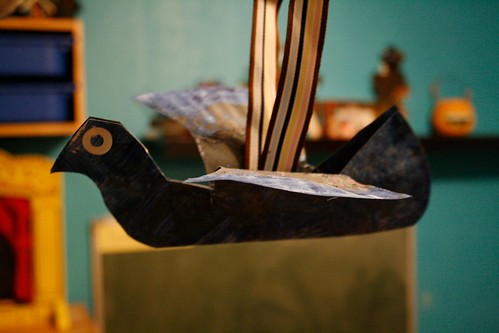
A quick 30 minute project I'm so glad the kids stuck through and finished - so much better than watching another episode of Max and Ruby...
No comments:
Post a Comment