First step - Mr. Seahorse {Tempera Paint}
On plain white butcher paper, or what ever you have on hand, create colorful textures with tempera paint and using different brushes and strokes to fill the page.
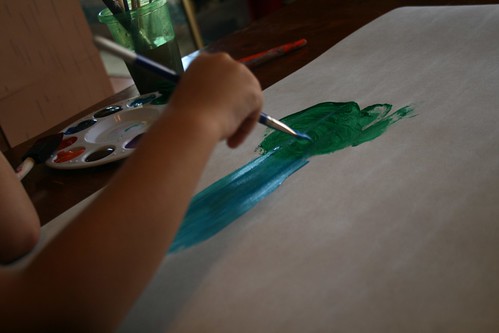
Colors should bleed together.
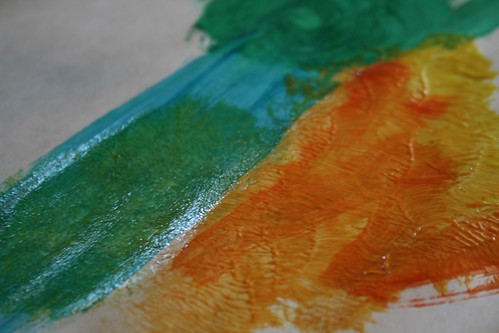
Try sponges, rollers, big and small brushes. "Water-down" your colors so that they blend and bleed together - covering all of the white underneath.
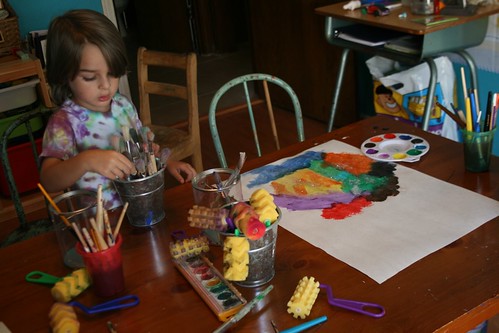
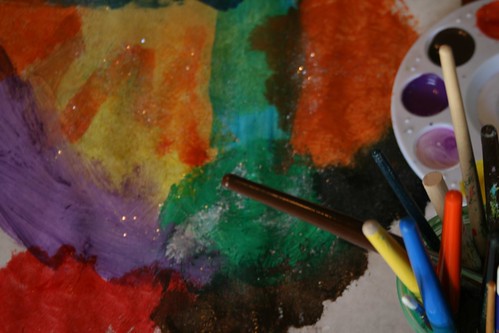
While Noah's art was still wet, he sprinkled white glitter on top. You could also coat the sheet with clear-drying glue and apply glitter or crayon-shavings for fun.
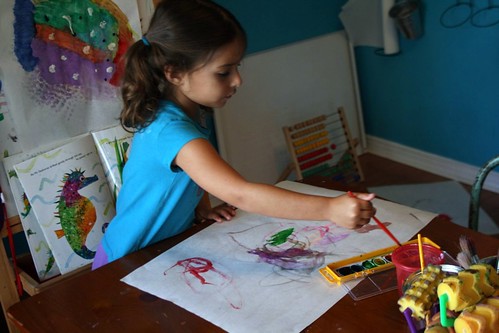
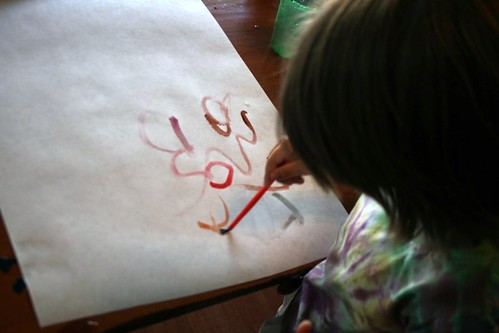
Second Step - the Sea {Watercolors}
Use a large sheet of white paper, or butcher paper, to create the background. Water colors {which we haven't used in a long time} was fun for the kids - as the application and results are entirely different. Set both sheets aside to dry.
Third Step - Coral reef {food coloring}
This was something new for even me to try. Use what you have at home to add another dimensional art piece. We used coffee filters and food coloring. Our filters are the pocket kind, so I opened these up and folded it accordion style. Then the kids squirted drops of food color on the filter.
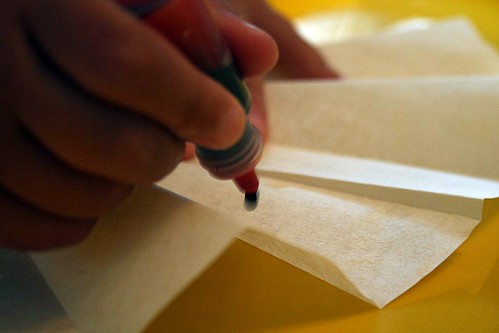
Making unique patterns with the 4 colors.
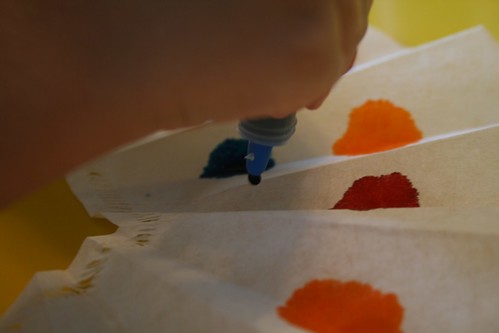
Use a water bottle and spray away!
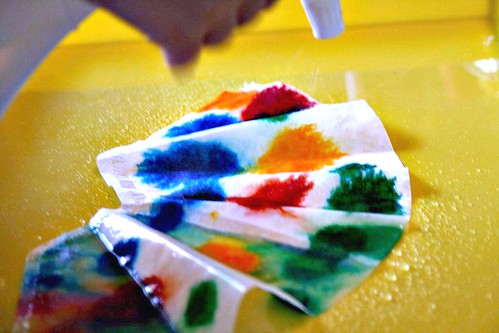
You'll have to jiggle the tray a bit to blend the colors. Set outside to dry.
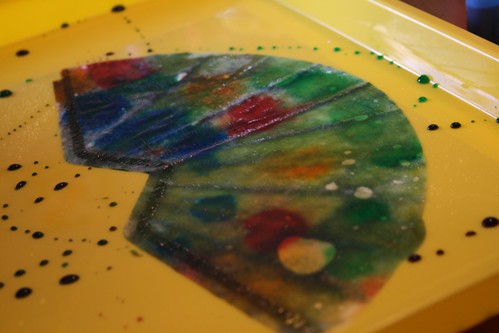
Day Two!
If you have the book Mr. Seahorse, trace him directly from there or try this link for the template. Cut out a "seahorse" from the middle of the painted paper the kids made from Day One.
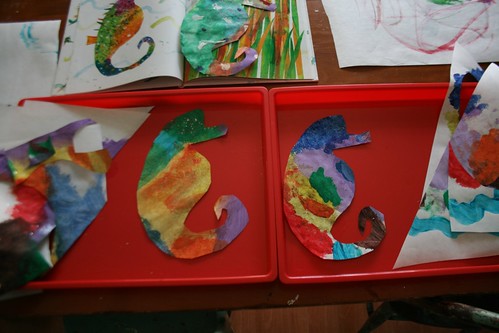
First Step: Setting the Scene
We began with the water-colored sheet - and I described how what they created resembles the reeds - like in the book. They glued their dyed filter or "reef" and the unfinished seahorse to set the scene for Mr. Seahorse.
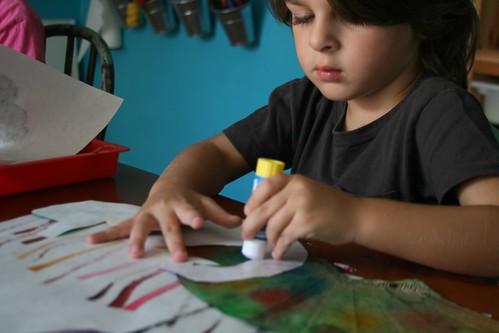
Second Step: Finish Mr. Seahorse
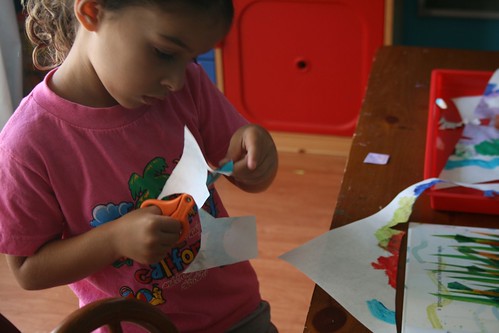
Using the painted paper left overs, the kids practiced using their scissors and cut out a "fin" and "spikes" and then glued them on.
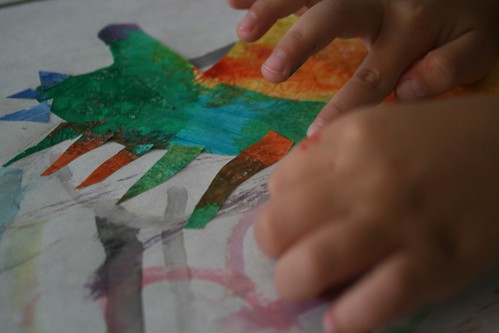
A googly-eye later... and ta-da!
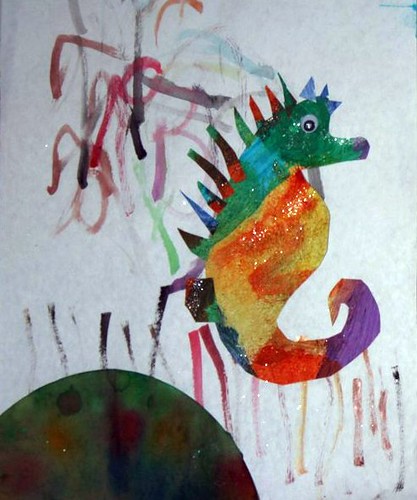
Final Step: Proud Art-work Presentations
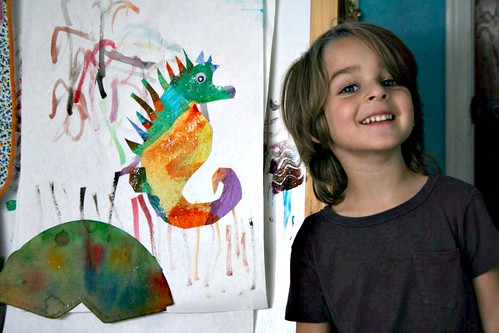
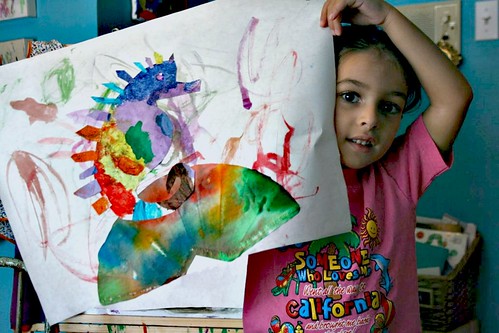

So adorable! I love all the different techiniques this brought into play -- so many 'mediums' on the same finished project! Gorgeous and fun :)
ReplyDelete